How to turn a picture into YoWindow Landscape


 Deutsch
A regular picture looks amazing when the sky is replaced with YoWindow living sky.
The living sky is reflecting the running clouds, sun, moon and stars.
This works with any picture - downloaded over the Internet or taken with your camera.
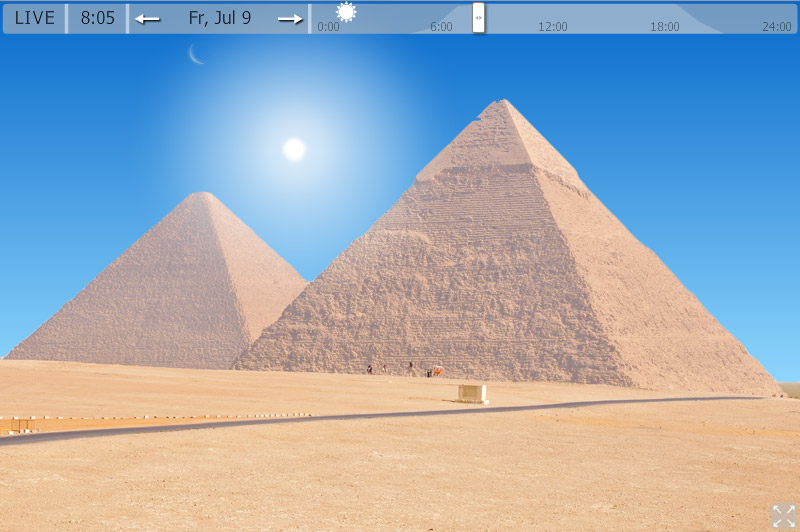
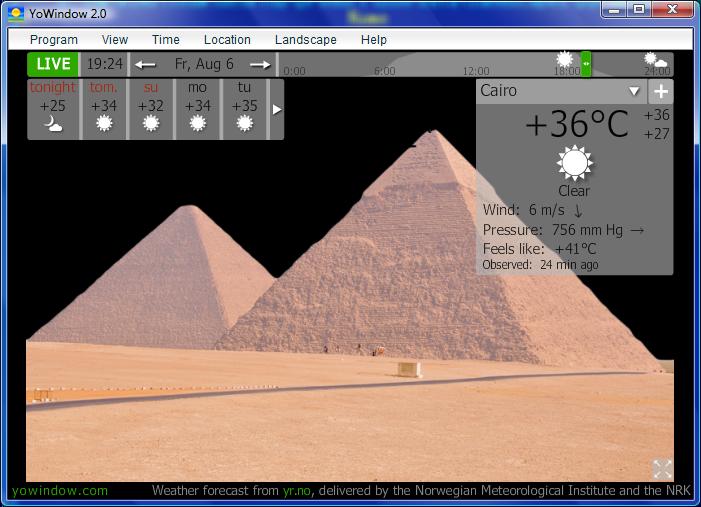
This is a picture of Egyptian Pyramids from Flickr image archive.
And here is YoWindow Landscape - the same picture, but with the living sky.
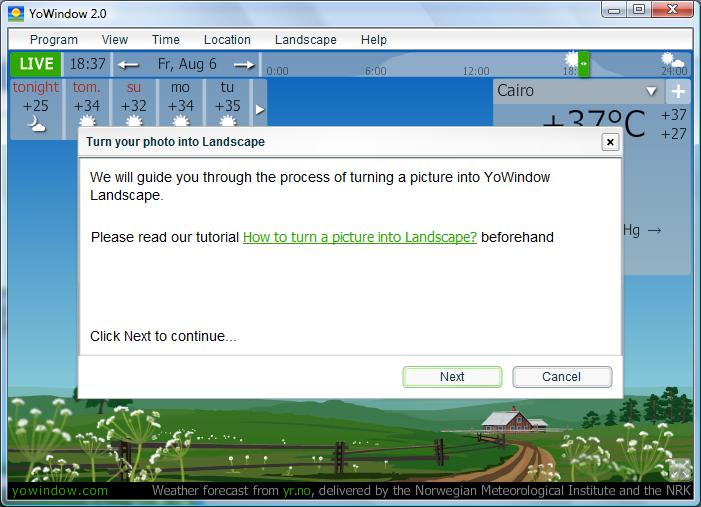
Let me show you how to turn a picture into YoWindow Landscape.
Pick the picture
Make sure you have picked the right picture for the landscape.
- YoWindow expects the picture to be taken on a sunny day. If you pick a night scene, it will look dark in the day and very dark in the night. Try to pick a picture taken when the Sun is shining.
- Horizontal format (landscape) is better than a vertical format (portrait). YoWindow displays landscapes, so it is better to hold your camera horizontally while taking the picture. The wider your picture - the better.
- To ease the sky removal process try to pick a picture with absolutely clean sky.
- Picture width or height must not exceed 2880 pixels. If the picture is wider or taller, YoWindow will not display it.
The perfect picture for YoWindow is taken on a sunny day, when the sky is clean and the camera is oriented horizontally. Like this one.
Convert the picture into YoWindow Landscape
- Run YoWindow.
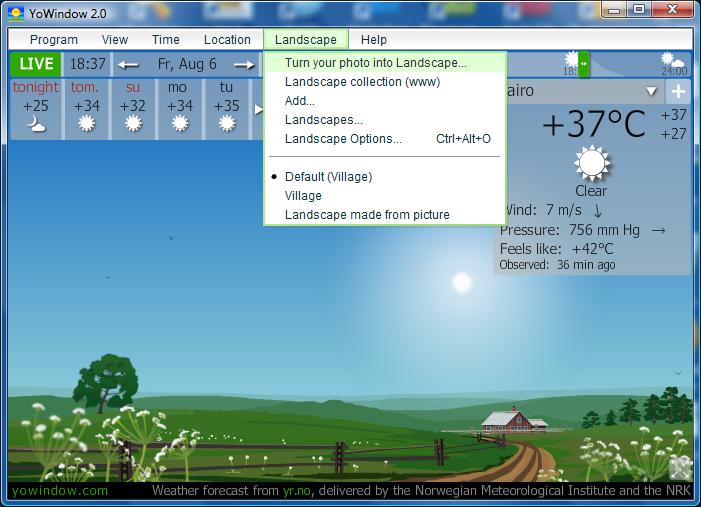
- Go to main-menu/Landscape/Turn your photo into Landscape...
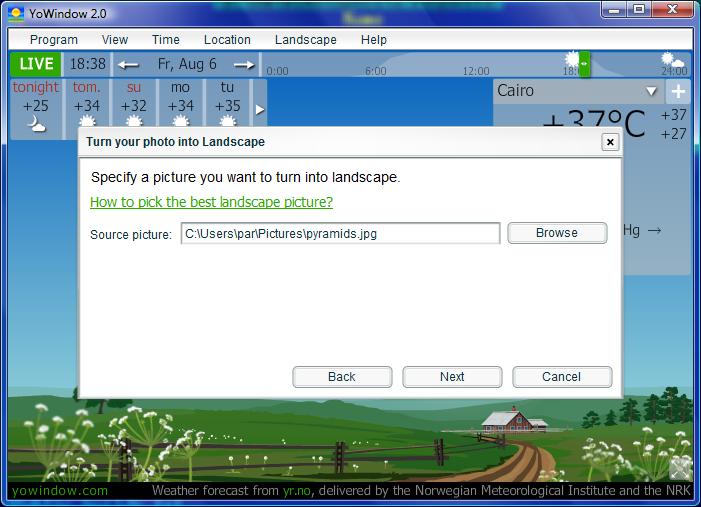
- Select a picture on disk.
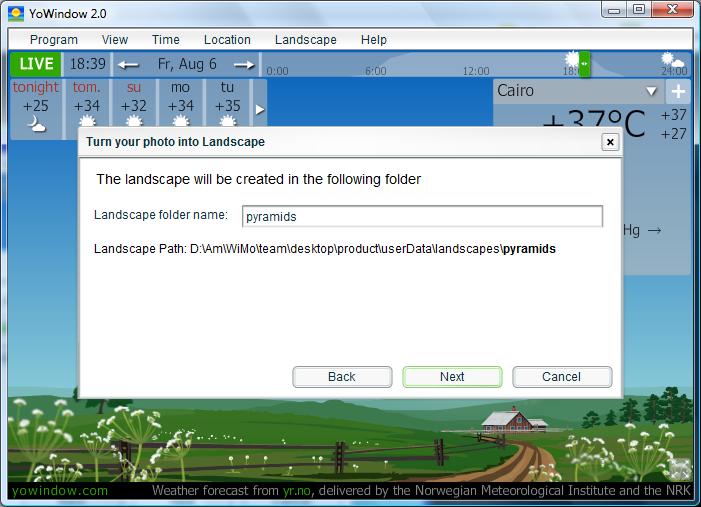
- Choose Landscape folder name.
Every landscape is created in an individual folder.
You may edit the folder name on this step.
The Landscape folder is added to a special "landscapes" folder.
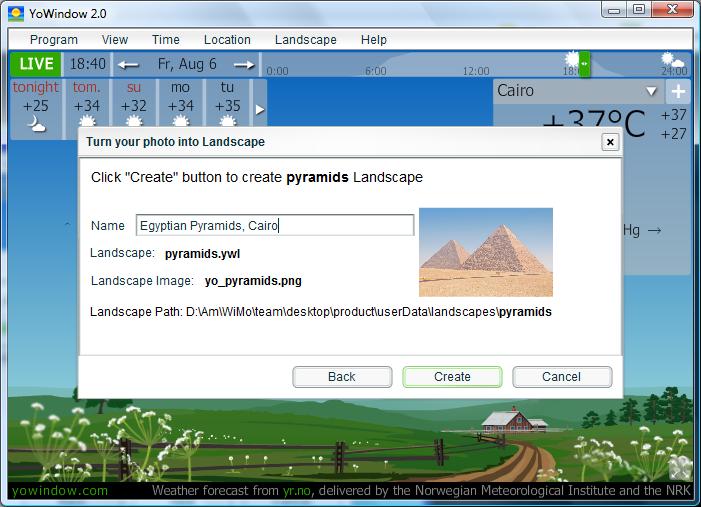
- Pick a name for the landscape then click "Create".
- You will see a message like this.
And the new landscape will be opened in the background.
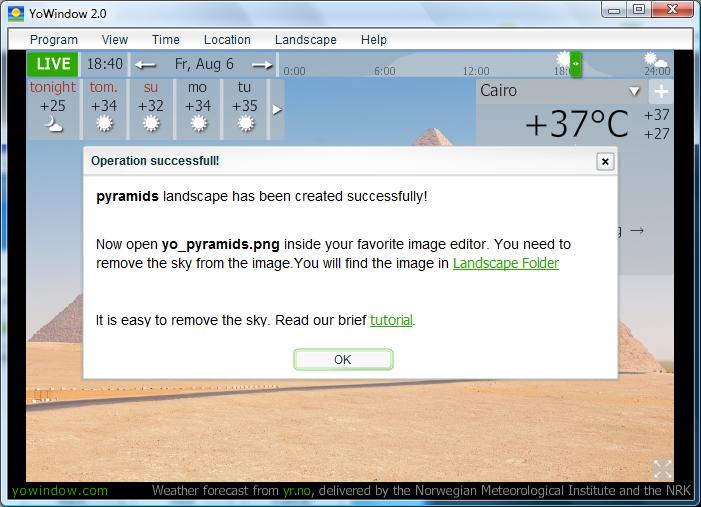
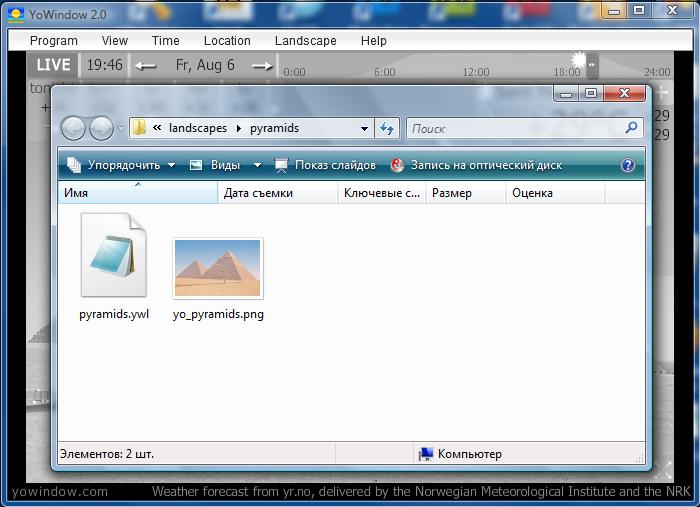
- Click "Landscape Folder" to open the folder.
There you will find the Landscape Image - an exact copy of your original picture converted to .PNG format (yo_pyramids.png).
Remove the sky
This is the most challenging task.
To remove the sky you need to edit Landscape Image (yo_pyramids.png) with an image editor.
You may use commercial Photoshop or free Gimp.
There are many tutorials on the Internet explaining
how to remove a background from an image.
I would suggest you to start with the short video tutorial explaining.
The tutorial explains how to remove a background in Photoshop using "Magic Wand" tool. This is the most simple and effective technique.
It works great if the sky on your picture is clean and blue.
If you are using Gimp editor, try this technique.
- Click Layer-Transparency-Add Alpha Channel.
- Select an area on the image to make transparent with one of the "select" tools.
You can select large areas of the sky with the rectangle select tool then fine tune with the others later.
- Press the delete key on your computer and the area will go transparent.
Repeat until all of the sky is gone.
- If you're going to re-size the image, do that first.
- Save the image.
When you are done, make sure to save Landscape Image to the same .PNG file (in example: yo_pyramids.png).
Make sure that the sky in the PNG image is transparent, NOT black, NOT white, but transparent. If the sky is not transparent you will not see the living sky in YoWindow.
By the end of this step you should have a .PNG image without the sky, like this
one
yo_pyramids.png
Now go back to YoWindow.
You should see the Landscape Image (yo_pyramids.png) updated without the sky.
The sky is black.
This is because YoWindow does not know where the horizon is.
You will setup the Horizon Level on the picture in the next step.
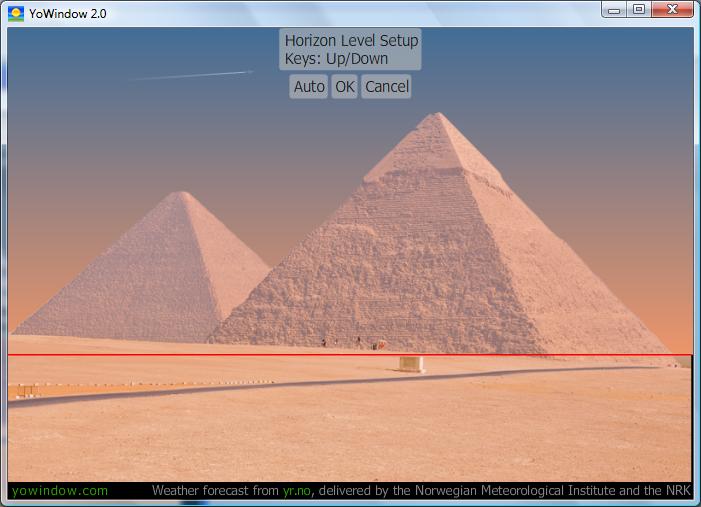
Edit Horizon Level
Go to main-menu/Landscapes/Edit Horizon Level...
This menu item is only available for the landscapes you have created (landscapes inside "landscapes" folder).
The horizon on the picture is marked with a thick red line.
First time you open it, the Horizon Level is layed out automatically.
You may adjust the line with the mouse or with the keyboard.
Click OK to save your choice.
The landscape is done!
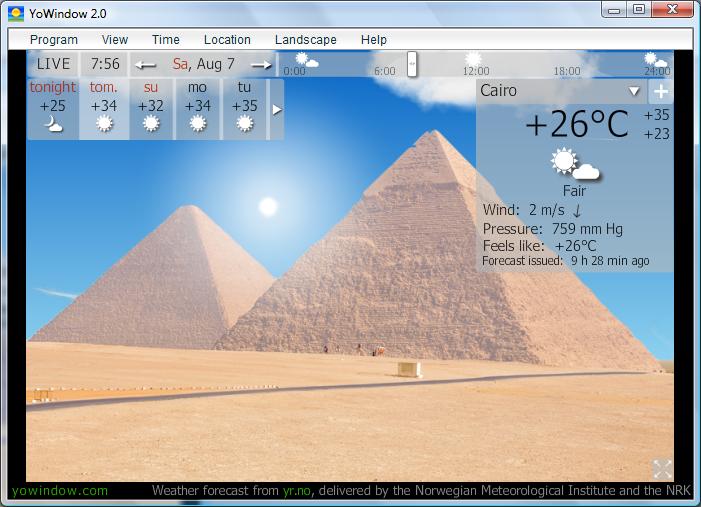

Congratulations!
Please, share!
You are very welcome to share your landscape.
We have opened a special forum where you may post your landscape -
Landscape Collection
If you want us to include your landscape inside YoWindow, make sure the original picture is licensed free for "commercial use and modification" or to be in a PUBLIC DOMAIN or it may be your own picture.
Don't know where to find PUBLIC DOMAIN pictures?
We have collected for you all the best sources of free pictures on the internet.
We are happy to every new landscape in our collection, feel free to share :)
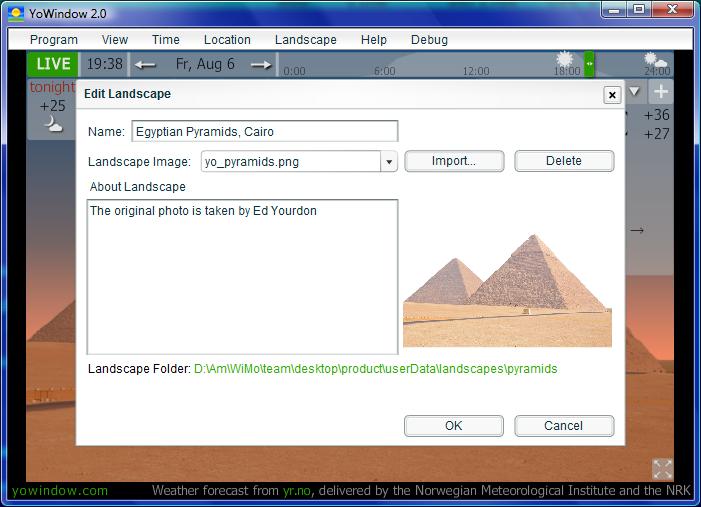
How to edit Landscape
You may always update the picture, name, description or something else in the Landscape.
Go to main-menu/Landscape/Edit Landscape...
This menu item is only available for the landscapes you have created (landscapes inside "landscapes" folder).
To replace the landscape image use "Import..." and "Delete"
buttons.
To open the Landscape Folder click "Landscape Folder" link at the bottom
Happy Landscape authoring!
